Monday, August 23, 2010

Tomatoes - Part Deux

Our tomato windfall continues here, and I finally had a half decent looking pepper come out of our garden - a jalapeno. So it was time to put two and two - or in actuality, 15 and 1 - together, and make some salsa. In my head, I hear Jerry Seinfeld's voice saying, "Excuse me, do you have any salsa?" "We need more salsa." "Where is the salsa? No salsa?"

Well, we now have salsa. It's real, and it is spectacular.


Unfortunately, my rules for salsa making are much like my rules for sauce making: as little contact with the tomatoes as possible. That eliminates pretty much all of the fresh salsa recipes out there, which is ok, because a bowl full of tomato chunks might hit the spot for some, but not me. I'm more the person who dips their chip in, soaking up the accumulating juices and avoiding any large chunks of anything- and leaving you with some dried up tomato and onion bits in the bowl. Oh yeah, that's just how I roll, baby.

I came across a recipe on All Recipes that sounded absolutely perfect to me. Like the sauce recipe I posted previously, everything gets thrown in the oven. The idea of a roasted tomato salsa sounded really good and a little different, so I was ready to give it a try.

It starts out easy enough - toss 12 whole tomatoes (I used 15 to make up for a few smaller ones from the garden), a jalapeno pepper, a quartered onion and 2 garlic cloves, still in the skin, into a baking dish. Drizzle with some olive oil. This goes under the broiler for about 10 minutes - I wanted to make sure everything was good and roasted - so I did a flip about halfway through and bumped it up to 15. It worked for me but probably unnecessary.

They come out looking... well, roasted. The smell is delightful, though. From there I took the tomatoes, cut off the top and pressed on them with the back of a chef's knife to remove some of the extra water and seeds. Leave the skins on though - it gives the salsa a bit of a smokey flavor. The tomatoes went into the food processor, along with the onions. Then I split the jalapeno in half, removed the stem, got rid of about half of the ribs and seeds and dropped it in the food processor. Same with the garlic (smash them with the back of your knife and they slide right out of the skin). A few pulses... then a few more pulses (you do recall the general distaste for large chunks, right?). Into this mix goes a nice amount of cumin, lime juice and cilantro. Stir and pop it into the fridge - unless lukewarm salsa is your thing.

Not that there's anything wrong with that.


Roasted Tomato Salsa

(adapted from allrecipes.com)

12-15 Roma (plum) tomatoes
2 cloves garlic, unpeeled
1 small onion, quartered (I used a Pennsylvania sweet onion, but I think any type would work)
1 jalapeno pepper
Olive oil to drizzle
1 teaspoon cumin (I went over this - I love me some cumin. Just adjust to your taste)
1/4 teaspoon salt
3 tablespoons fresh lime juice
1/4 cup chopped fresh cilantro

Preheat the broiler. In a medium baking dish, place tomatoes, garlic, onion and jalapeno. Drizzle with olive oil.
Broil for 10 minutes, checking often, or until outsides of vegetables are charred.
Remove from heat. Remove and discard tomato cores, jalapeno stem (and some or all of the ribs and seeds, depending on your heat tolerance) and garlic skins.
Process the charred vegetables in the food processor. Transfer to a medium bowl, and mix in cumin, salt, lime juice and cilantro.

Thursday, August 19, 2010

The stealth wrap

My mom celebrated her 50...ish birthday this week, so it was time to break out the stealth knitting project. You know that project that you never talk about, that no one knows you're working on on, then bam! Voila! I've knitted you a wrap.

I like those kind of projects - this one was completely under the radar. I bought the yarn months and months ago at the Pittsburgh Knit and Crochet Festival, from my one of my absolute favorite vendors there - Brooks Farm Yarn. The colors are gorgeous and the yarn is a dream to work with (whenever I can get past petting it, that is).

This particular yarn is their Duet, which is a blend of wool and kid mohair. I was sucked in by the wrap they had on display, a simple garter stitch knit on the bias done on larger needles to get that open, loosey goosey look. It turned out to be as boring as all getout to do with its row after row... after row of knit stitch, so I'd work on a row or two here and there between other projects. Then came crunch time - so a few evenings spent with the garter stitch, and I got it, heh heh, wrapped up. (Oh yeah. I'm bustin' out the puns.)


This yarn is incredibly soft - and very VERY warm. Not so good for August weather, but should be perfect for the fall.

Check out the pattern for this lovely - because I know you're just itching to try it out now that you've heard how boring it is to do - can be found here.

Thursday, August 12, 2010

Pass the tommy-toes

Full disclosure: I hate tomatoes. Hate. I am using the word "hate" here, about tomatoes (thanks Jack Nicholson). So of course the one thing in my little backyard garden that has actually produced anything would be.. yes, you guessed it.


Ok, ok... I will admit that I have gotten a fair amount of herbs - basil, rosemary oregano and parsley. And earlier this summer, I will concede that we had a few decent salads from some lettuce I planted. But the peppers and strawberries were nonexistent. The cucumbers measly. The tomatoes, however... well according to our tomato lovers in the family, the tomatoes have been delicious.

There I was, looking at what turned out to be 6 pounds of Roma tomatoes - from ONE plant -- with a sprinkling of cherry tomatoes from my other lone plant. All from my otherwise pathetic garden. So I did what any self-respecting, tomato hating, yet equal opportunity giving cook would do - made tomato sauce.

But there are rules here. Yes, rules about tomato sauce making (this is where my crazy comes out). 1. I wanted as little to do with the tomatoes as possible. That means no seeding, no peeling. The less actual contact with the tomatoes, the better. 2. The sauce had to be smooth. No pieces or chunks of tomato. I'm kind of like a 9 year old in that regard. 3. I was not about to spend hours tending to a hot simmering pot of tomato sauce. It's AUGUST, for crying out loud.

It turns out those requirements don't leave you with a lot of options. It was hard enough tracking down a recipe that didn't call for canned tomatoes. Then I found it-the perfect recipe. Really. Read on.

It starts with quartering the tomatoes. No need to blanch and peel them. No seeding, no dicing. I'm already in. Add to that a couple of onions, roughly chopped, a whole lot of garlic, along with some herbs (I used basil and oregano). Toss it in a 13x9 pan with some olive oil. That's the prep involved. This was my kind of recipe.

But it gets better: the vegetables are roasted. No breaking up tomatoes with your spoon, no simmering. Delightful. And the kicker? Once it's done, it all goes through a food mill. No big chunks of anything. Heaven. And I hadn't even tried it yet.

And then I did - yum. Am I allowed to use that word about something that started as a tomato? But this was good - the roasting gave the sauce a really rich flavor. For dinner that night, I sauteed some cremini mushrooms, tossed in some of the sauce and served it over pasta. So easy, and everyone loved it.

Is it possible that I'm thinking of planting two Roma tomato plants next year?


Roasted Tomato Sauce
(adapted from Bluekat76's recipe at Dave's Garden)

4 pounds tomatoes, stemmed and quartered
2 yellow or other onions (I used a couple of sweet onions I picked up from Soergel's)
16 cloves fresh garlic
1/4 cup olive oil
Fresh basil and oregano (about 3 tablespoons chopped)
A healthy shake of dried red pepper flakes

Combine ingredients in a 9x13 inch pan. Roast at 450°F for 1 1/2 to 2 hours, until juices get thick. Tomatoes will get a bit blackened and will smell wonderful.

Let cool, and run through a food mill to remove skins & seeds. Season with salt and pepper.

Tuesday, August 3, 2010

When good diets go bad

There are some ingredients that just mess with my sense of right and wrong.

Perhaps I should explain. A piece of chocolate has never sent me on a robbery spree or landed me in jail on assault charges -although I will not hesitate to throw a few elbows for a corner piece of cake.

I'm saying that I know it's wrong to make a sauce using a stick of butter. I know it's wrong to add a mass of pancetta to that melted stick of butter. But this is gnocchi we're talking about. Delicious, puffy gobs of potato-ey goodness. And this wasn't just any gnocchi. This was sweet potato gnocchi. Rules must be bent.

I suppose I could have done a light marinara sauce. But I wanted to play with that natural sweetness from the sweet potato. A brown butter sauce was a good start. And to the sweet, why not add some salty? The pancetta was calling my name. More likely an artery's name, but what do you know? We're named the same thing. So pancetta it was. A bit of nutmeg, a couple of healthy pinches of cinnamon, fresh rosemary and little grating of Parmesan rounded it out. Yum.

We had a salad with it, so I think that makes it a little better, right? But come on, a little indulgence once in a while is never a bad thing.


Sweet Potato Gnocchi with Pancetta
(makes four servings)

1 lb. of sweet potato gnocchi (I picked mine up from the Dormont Farmers Market.)
3/4 stick unsalted butter
4 oz. diced pancetta
1/2 tsp. freshly grated nutmeg
2 healthy pinches ground cinnamon
2 tablespoons fresh rosemary
course salt and fresh ground pepper
Parmesan cheese

Melt butter in a medium skillet. Add pancetta and cook until brown and slightly crispy. Add the rosemary and continue cooking for another 2 minutes. Add the nutmeg, cinnamon, and salt and pepper to taste.
Meanwhile, cook gnocchi according to package directions. Drain well and add to butter sauce. Toss with the sauce until coated.. Divide among plates and sprinkle with Parmesan cheese. Eat now, regret later.

Wednesday, July 28, 2010

Inspiration

I love when inspiration strikes. Or in this case, when it shows up in my inbox.

Kathleen Cubley over at Knitting Daily blogs today about her experience working with silk stainless steel yarn. Her inspiration to try out the yarn came from (surprise!) the fall issue of Interweave Knits, of which the Knitting Daily blog is affiliated. The project is the Hoarfrost Mobius, designed by Annie Modesitt, and made using a new yarn from Lion Brand's LB Collection, Wool Stainless Steel. It is beautiful, although I could never pull off the "mobius over my head ethereal beauty" look the model's got going on.

I have been intrigued by the idea of this yarn since I first saw a few jewelry projects using it earlier this year. They came out of the book "Elements of Style: Knit & Crochet Jewelry with Wire, Fiber, Felt & Beads" by Rosemary Hill. The yarn Hill used, Habu Silk Stainless steel, is gorgeous, but hard to find. And frankly, I was a little intimidated to try it out. But Cubley says I have no reason to be:
I know—when you think "stainless" you don't think "yarn." If you're like me, you think "refrigerator."

But it's really an amazing yarn; you really wouldn't know it's stainless steel unless you pinch it—it keeps the pinch. But it also straightens out beautifully. It's a unique yarn—and not at all scary when you're working with it—that you really have to try in order to appreciate.
I love the idea of combining the flexible hold of wire with the feel and drape of silk or wool. I already have a bunch of ideas I'd love to try out with it.

Now if I could only find the inspiration to finish the projects I've already started (Clapotis, I'm looking at you...)

Wednesday, July 21, 2010

Jammin' on the one


I'm not sure who the masochist is that came up with the idea of jam. Don't get me wrong - homemade jam is, well, awesome. But I just can't imagine the person who, in the middle of the summer, saw a berry harvest and, wiping the sweat off their brow, thought, "Hmm, I think I'll take these berries and heat them until I have a hot boiling pot of sugar and fruit - but I'll want to stand over said hot boiling pot stirring it the entire time. And then, I'll put the insanely superheated result in some hot jars and then put those jars into a vat of boiling water." Getting the theme here? That being said, I guess I'm a masochist. I love me some jam, and I've discovered I love making it.

My first experience at making jam came late this spring after a trip to Trax Farms in Washington County, where we headed out to the fields to pick our own strawberries. If you haven't done a berry picking trip with your kids before, go. The sight of your kids picking those berries, looking around to see if anyone's watching, then sneaking them into their mouths, is worth any complaints you hear from them on the walk to and from the field. Despite the sampling, we ended up with pounds and pounds of strawberries. I hated seeing them go to waste, and - as much as my husband would disagree - there are only so many baked goods one can make with strawberries. So I figured I'd try to make jam. The result was 9 half pint jars of some seriously good strawberry jam, and, surprisingly, it wasn't all that difficult to do.

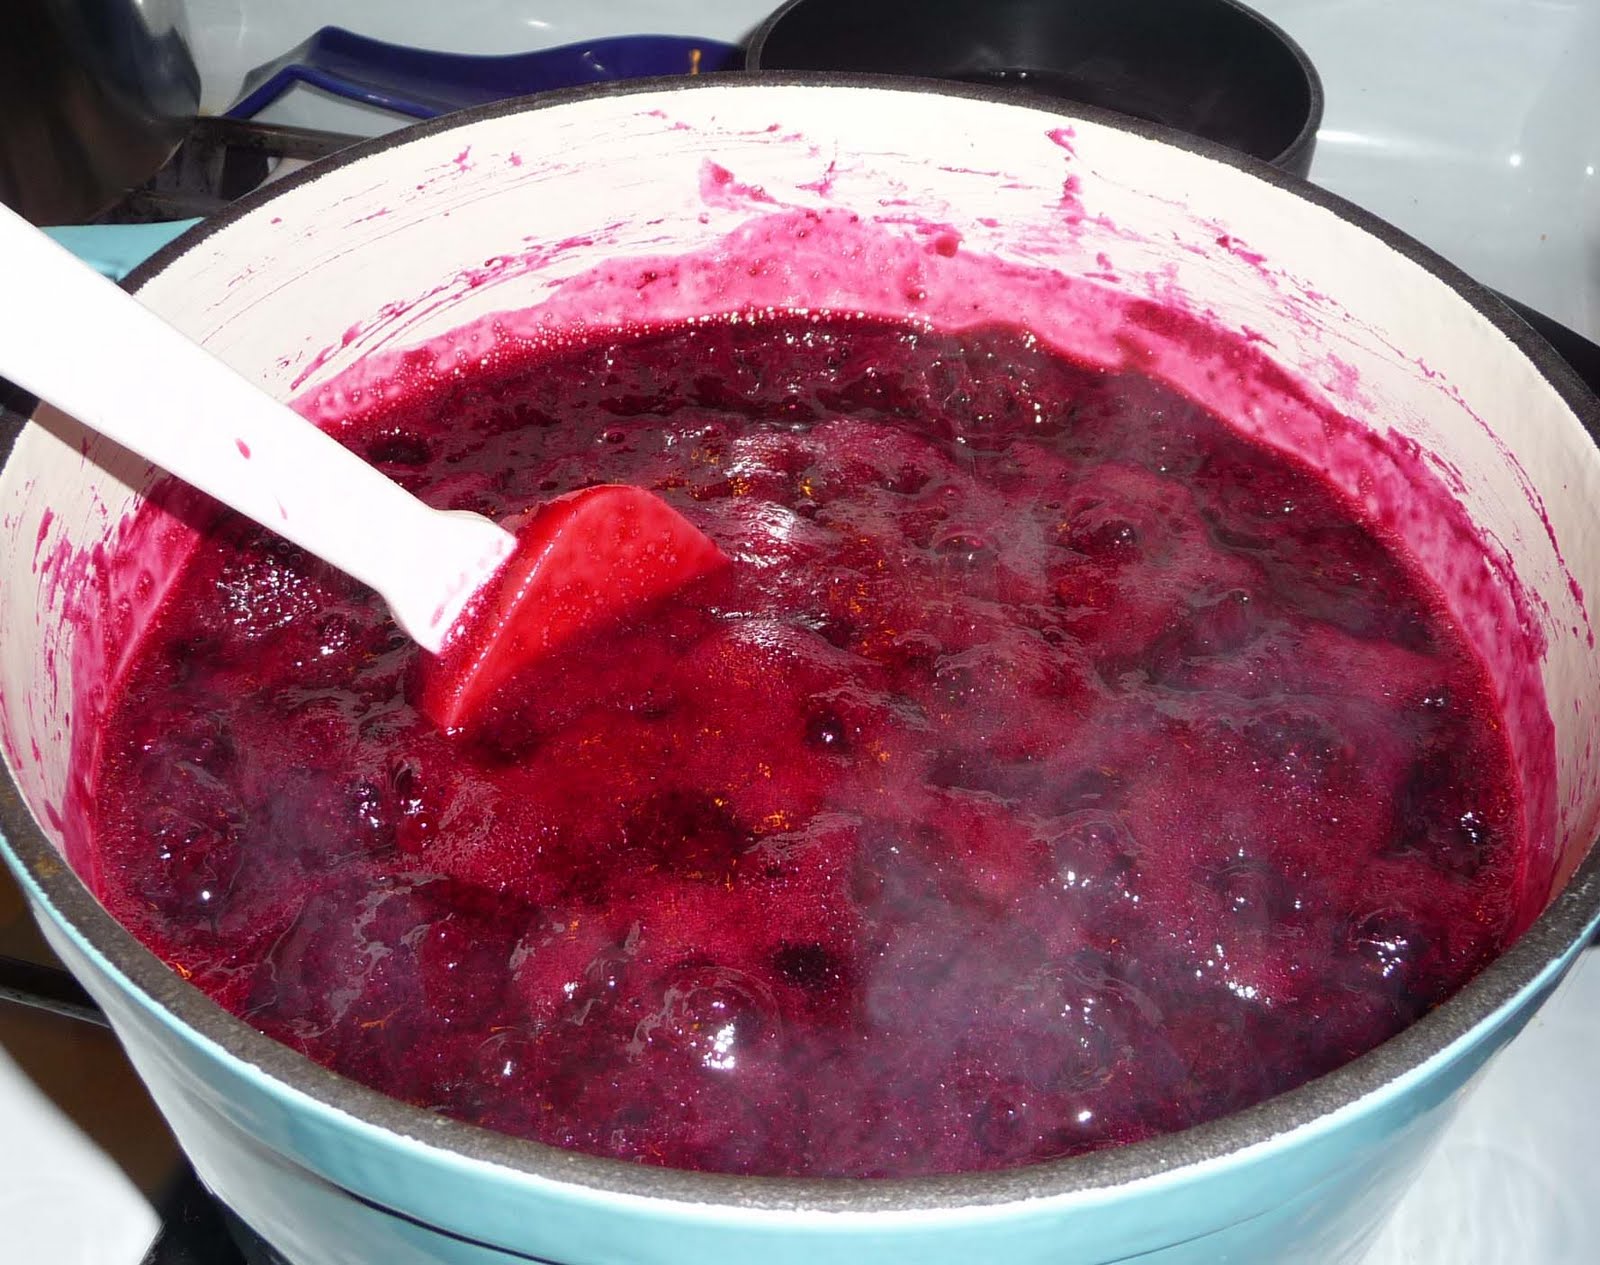
This time, it was blueberry jam, with fresh blueberries the kids and I picked at Soergel's Orchards. A fair warning - blueberry jam requires a massive amount of berries... all right, 2.5 pounds, but more than my kids were in the mood to pick. They're my babies, not day laborers, so off we went inside Soergel's market to augment our own berries with a few extras.

After the kids were asleep (I did mention the hot boiling vat of sugar and fruit, right?), I set to work. The recipe is easy:

Blueberry Jam
(adapted from Ball Pectin recipe insert)

2.5 lbs (about 4 cups) crushed blueberries
2 Tbs. lemon juice
1 package Ball original fruit pectin
4 cups sugar

1. Combine crushed berries and lemon juice in large saucepan. Gradually stir in fruit pectin, and bring to a rolling boil over high heat, stirring constantly.
2. Add the sugar, stirring to dissolve. Return to a full rolling boil, and boil hard for 1 minute, stirring constantly. Remove from heat, and skim foam if needed. Recipe says you'll get 6 half pint (8 oz.) jars, but I got 7.

That's it for the jam. Really. The canning is also fairly simple. I follow the instructions that come with the pectin, using my big pasta pot instead of a canner and it hasn't failed me yet. I won't lie - you'll be sweaty. But yummy blueberry goodness is well worth it.

Friday, July 16, 2010

From yarn to wire


When I first started knitting, I came across Knitty Gritty, a television show devoted to modern hipster knitting projects. Of course, I once saw a knitted tissue box cover on there, so "modern" and "hipster" are relative terms. But there was one episode I ended up saving on my DVR for months (and likely deleted to make room for yet another Imagination Movers) about wire knitting. I wasn't crazy about the projects they had done, but the idea intrigued me. I wasn't quite there yet with my own knitting, and not quite ready to take on the challenge. About a year ago, though, I thought why not? I bought some beading wire, a string of cheap beads, grabbed my knitting needles and set to work.

Massive fail.

I had the wire wrong, the needle size and type wrong. About 3 hours, one jumbled mess of wire and beads and two gouged bamboo needles later (RIP my lovely Chiao Goos - alas wood needles and wire do not mix), I threw everything back into the store bag and shoved it in the bottom of my stash box.

Then on a lark, I took the bag out and brought it with me on a weekend crafting retreat. A good friend (thanks Jenn E!)taught me how to crochet, and something clicked. I crocheted a granny square, then I took out the wire and beads and the lone hook I had and made a necklace. The wire took on a whole new form when it was crocheted in a simple chain rather than knit - light, airy, flexible, a perfect base for whatever I wanted to string on to the wire. I knew I had found something new to love.

Since that first necklace, I've moved on to other necklaces and bracelets, trying different styles, different type of wire and different beads. As if the thrill of new yarn wasn't enough (Yes, that really is the kind of geek I am. New yarn THRILLS me.), now there's a whole new section to ooh and ahh over.

Above is one of my favorite pieces I've made so far. It's fairly simple - craft wire crocheted with these little Czech glass beads I picked up at Crystal Bead Bazaar in Lawrenceville. What an awesome store. But that's a subject for another post.

And this weekend I made a big leap - I actually gifted my first piece of jewelry. Granted, it was to my sister, who I think by law has to like everything I make for her, but I think she really did like it. It was a cuff bracelet, crocheted with the same black wire, mother of pearl coin beads and little silvery gray pearls.
I was really pleased with how it turned out, and, of course, completely forgot to photograph the finished piece. Instead, here's the bracelet I wore this weekend - smokey quartz colored wire with fire polished glass beads.

Tonight or tomorrow I'll be making something completely different - blueberry jam. Can't wait to share that with you... the photos, that is. The jam is all mine. Until then...